Big bubble letters have become the go‑to style for hobbyists, parents teaching kids, and small‑business owners looking for eye‑catching signage. For newcomers, mastering this rounded, playful lettering is both accessible and rewarding, requiring only a few basic tools and a clear workflow. Below, we break down the most common scenarios, the essential supplies, and the selection criteria that turn a simple sketch into a polished, bubble‑letter masterpiece.
Why Choose Big Bubble Letters?
Unlike intricate scripts, bubble letters emphasize volume, symmetry, and color contrast, making them ideal for:
- Children’s craft projects where confidence builds through bold strokes.
- Storefront signage that needs quick legibility from a distance.
- Social‑media graphics that stand out in a cluttered feed.
- Personalized gifts such as birthday cards, mugs, or T‑shirts.
Their forgiving shape means a stray line can be corrected with a simple eraser or an added highlight, reducing frustration for beginners.
Essential Tools and Materials
Start with a modest kit; over‑loading on equipment can complicate the learning curve.
- Pencil and eraser – Lightly outline each letter before committing to ink.
- Fine‑tip marker or black gel pen – Provides a clean, consistent outline.
- Brush pens or watercolor brushes – Fill the interiors with smooth color washes.
- High‑contrast paper – Smooth cardstock (⅞‑inch thick) holds pigment without feathering.
- Optional: Ruler or compass – Helps keep letters uniformly sized when creating a series.
Step‑by‑Step Basics
1. Sketch the Skeleton
Draw a simple block version of each letter, keeping the height consistent. Use a light pencil line so you can erase without leaving marks.
2. Add the Bubble Rims
Round the edges of the block letters, expanding outward by half the letter’s width. This creates the characteristic “bubble” bulk.
3. Define the Inner Void
Leave a small, even gap between the outer rim and the inner shape; this space will become the highlight that gives the illusion of depth.
4. Ink the Outline
Trace the outer perimeter with a fine‑tip marker, then reinforce the inner void with a thinner line. Consistency is key—steady pressure prevents wobble.
5. Fill with Color
Apply a solid wash using a brush pen or watercolor brush. For a three‑dimensional effect, add a lighter shade along the top edge and a darker shadow along the bottom.
Common Pitfalls and How to Avoid Them
- Uneven thickness – Measure each rim with a ruler early on; adjusting in the sketch phase saves time.
- Bleeding on thin paper – Upgrade to heavier cardstock when using water‑based media.
- Overcrowding letters – Space each character at least one letter‑width apart to maintain clarity.
Real‑World Applications
Once comfortable, practitioners can translate bubble letters into a variety of formats:
- Digital mock‑ups: Scan your hand‑drawn letters and vectorize them for logos.
- Merchandise: Vinyl‑cut stickers or screen‑printed tees benefit from the bold lines.
- Event décor: Balloon arches and banner rolls often feature bubble lettering for instant impact.
Selecting the Right Learning Resources
Choose tutorials that match your preferred medium. Video walkthroughs are useful for brush technique, while printable worksheets excel for pencil practice. Look for resources that offer:
- Progressive difficulty—starting with single letters, moving to full words.
- Side‑by‑side comparisons of rough sketches versus finished pieces.
- Free downloadable templates for quick reference.
By aligning your tools, workflow, and practice material, you’ll transition from tentative sketches to confidently rendered bubble letters, ready for any creative challenge.
Uxcell No.9T1Z-11582-A Interruptor De Encendido Cilindro De Bloqueo Con

uxcell No.9T1Z-11582-A Interruptor de encendido Cilindro de bloqueo con ...
Problemas Con El Cilindro De La Cerradura De Encendido De Ford

Problemas Con El Cilindro De La Cerradura De Encendido De Ford
Juego De Cilindros De Bloqueo De Puerta E Interruptor De Encendido Con
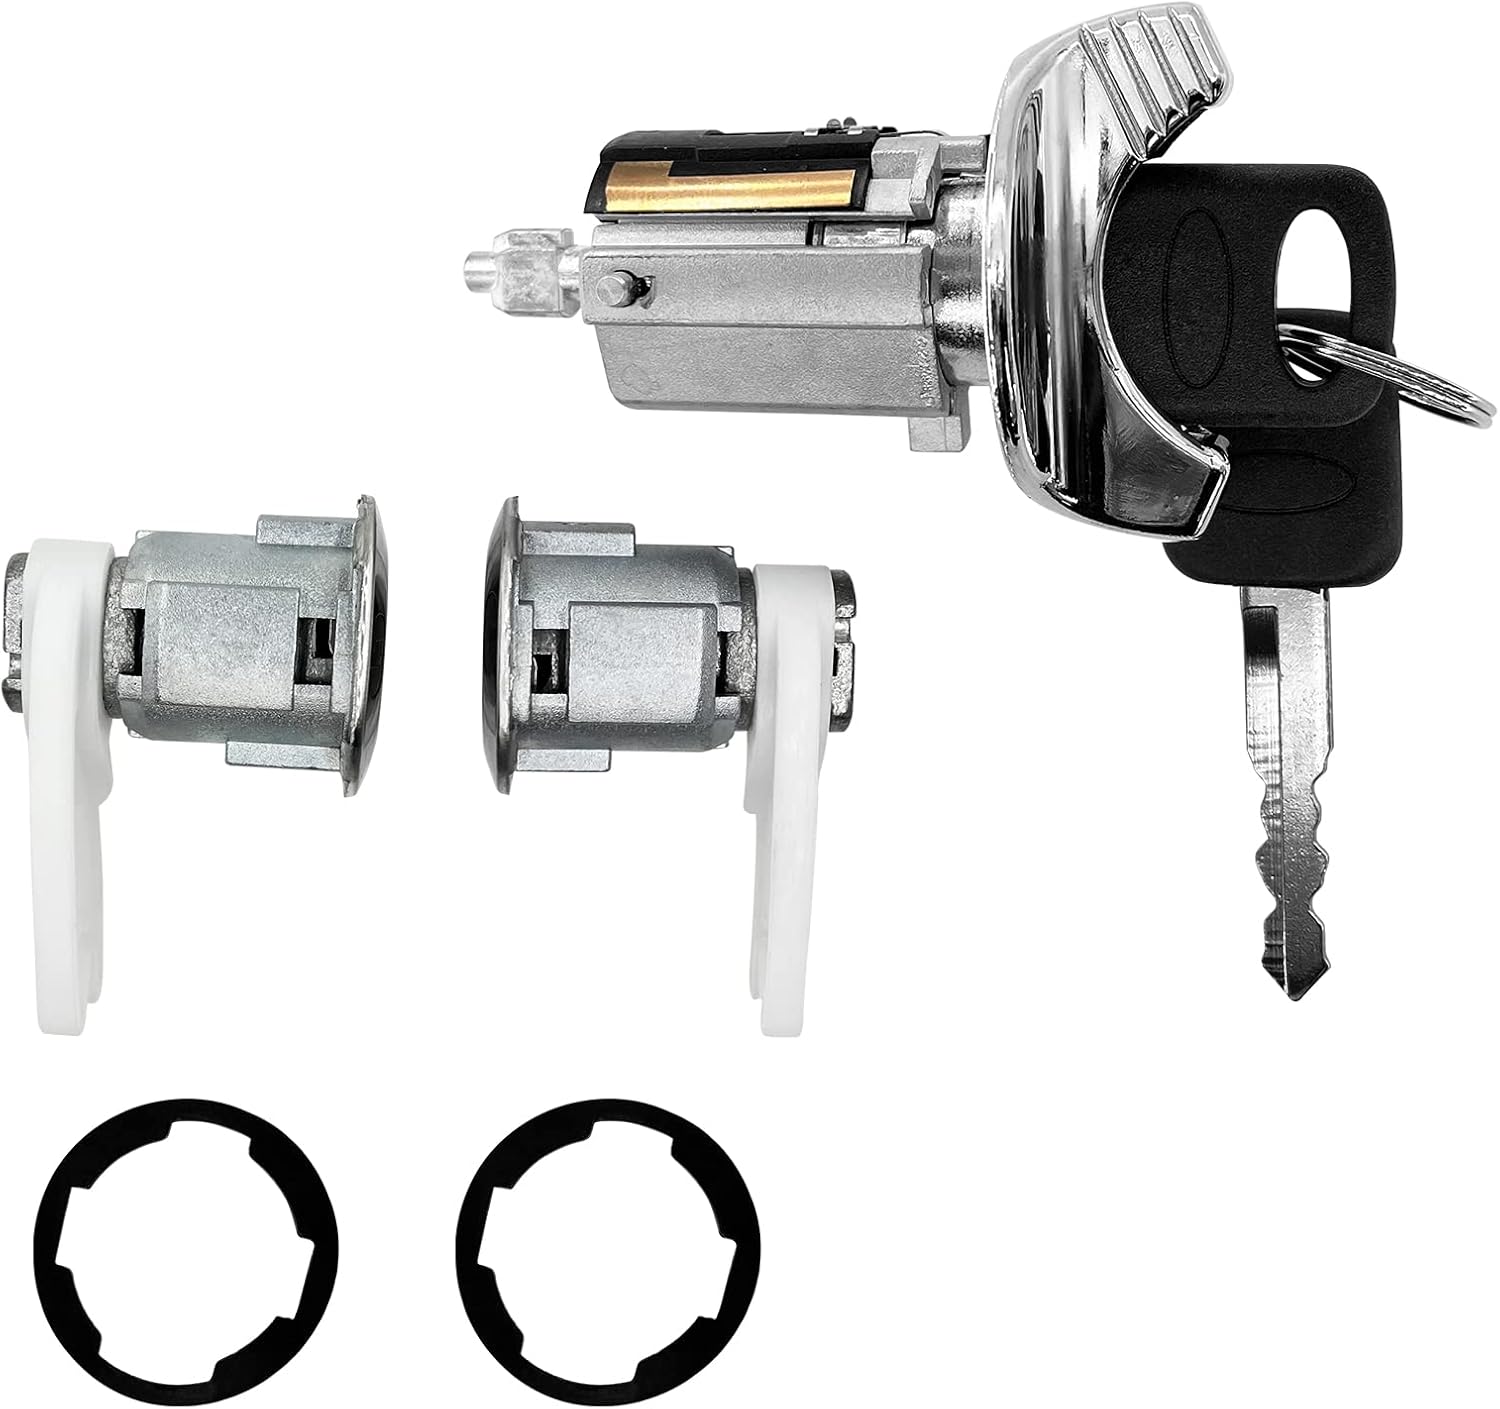
Juego de cilindros de bloqueo de puerta e interruptor de encendido con ...
Juego De Cilindros De Bloqueo De Puerta E Interruptor De Encendido Con
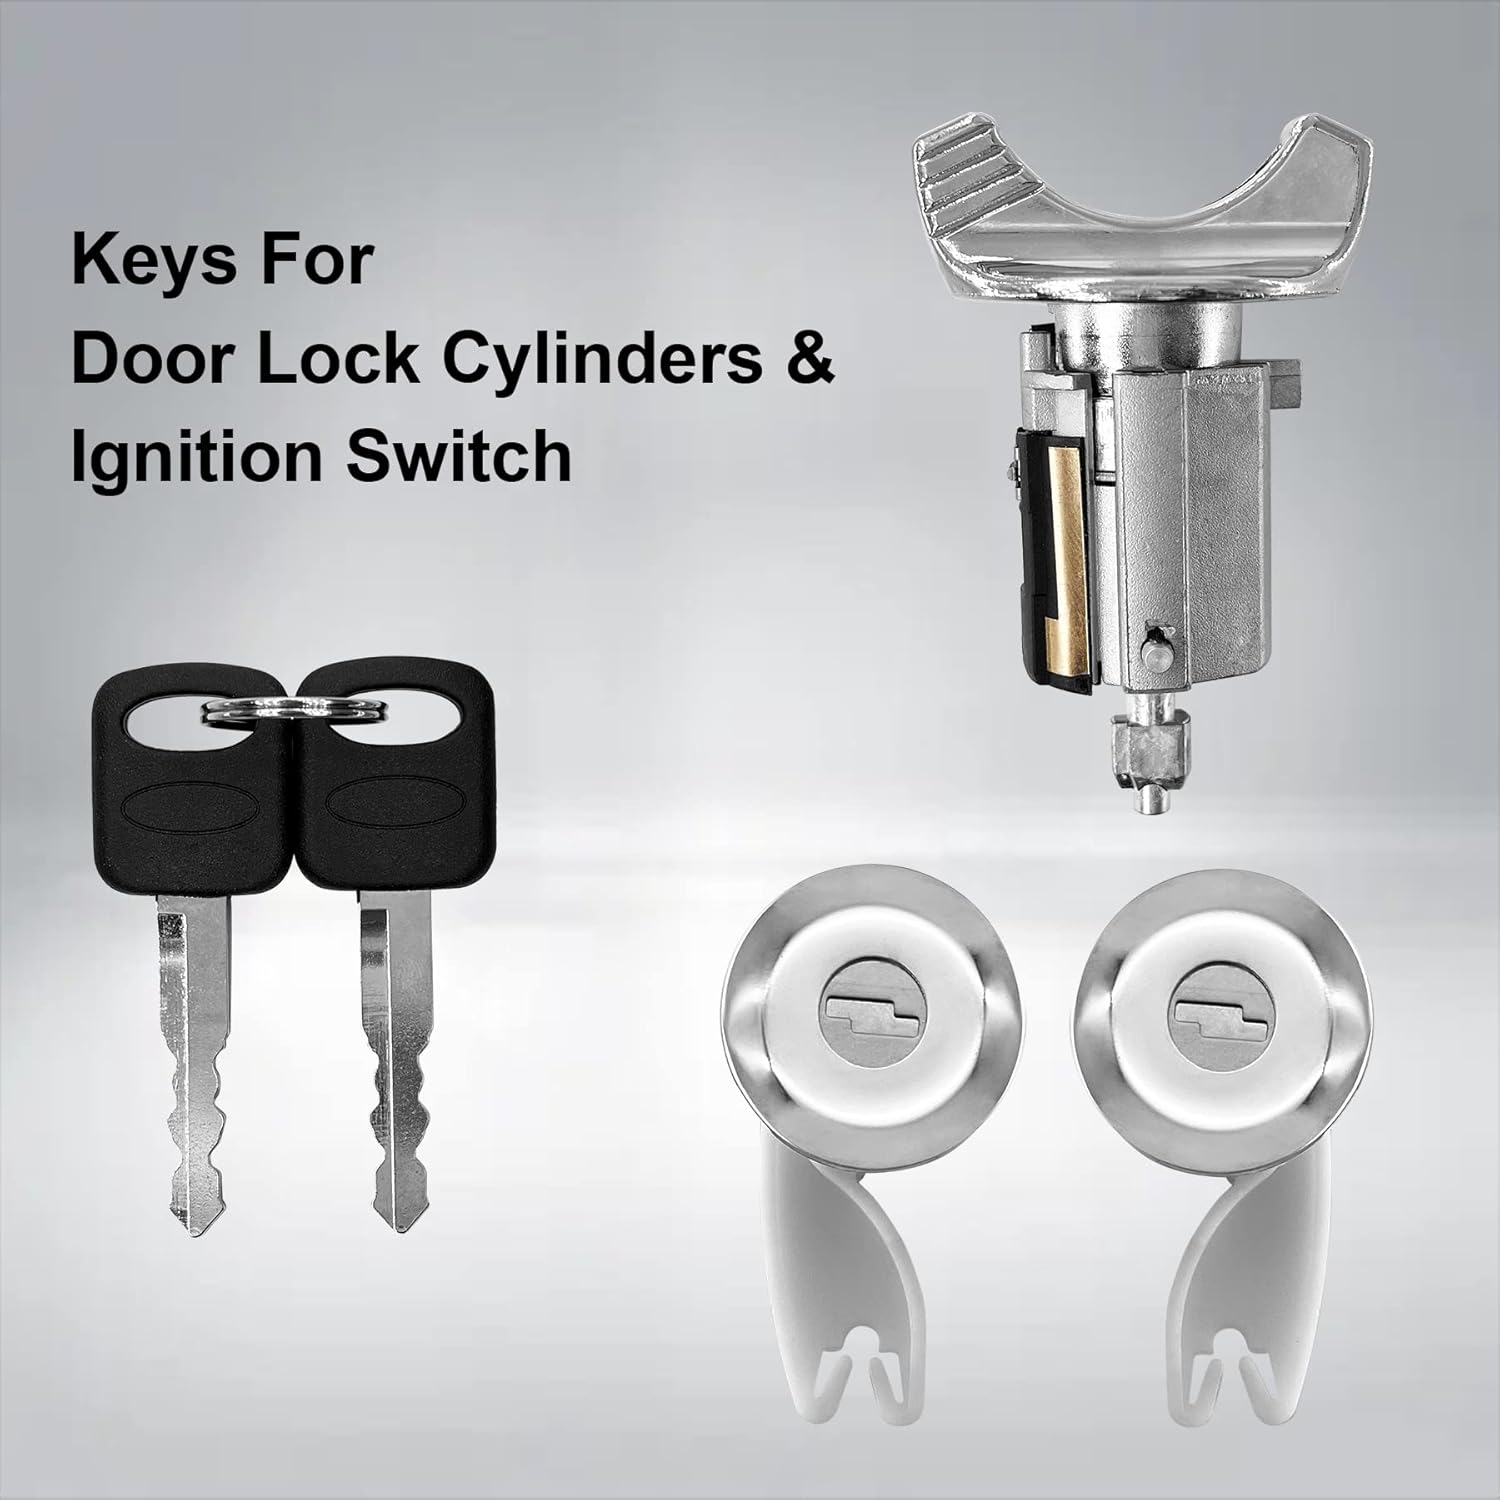
Juego de cilindros de bloqueo de puerta e interruptor de encendido con ...
Uxcell No.9T1Z-11582-A Interruptor De Encendido Cilindro De Bloqueo Con

uxcell No.9T1Z-11582-A Interruptor de encendido Cilindro de bloqueo con ...
