Creating a Dalmatian look for a Halloween party, photo shoot, or themed event can be as simple as crafting a pair of DIY ear headbands. By using everyday materials, you can achieve the iconic spotted silhouette without buying expensive costumes, and the result stays comfortable enough for all‑day wear.
Why DIY Beats Store‑Bought
Commercial costume pieces often sacrifice fit for flash, leaving stiff ears that tug hair or cause fatigue. Hand‑made headbands let you tailor the size to your own head, choose lightweight fabrics, and add the spot pattern precisely where you want it. In addition, the cost drops dramatically—budget‑friendly supplies bought at a local craft store typically total under $15, compared with pre‑made accessories that can exceed $40.
Materials and Tools
- Base band: thin elastic or a flexible headband that holds 2–3 inches from the forehead to the back.
- Ears: craft foam, felt, or faux‑fur sheets cut into 4‑inch triangles.
- Spots: black fabric paint, felt circles, or printed vinyl stickers.
- Adhesives: fabric glue, hot‑glue gun, or needle and thread.
- Finishing touches: optional wire for ear shaping, small clips to secure the band.
Step‑by‑Step Construction
1. Prepare the Base
Measure the circumference of the wearer’s head and cut the elastic or headband accordingly, leaving a small overlap for a snug tie. For extra stability, double‑fold the ends and sew or glue them together.
2. Shape the Ears
Trace a 4‑inch right‑angled triangle onto your chosen material. Cut two identical pieces, then gently curve the outer edge upward using a thin wire or by hand‑rolling the foam. This mimics the Dalmatian’s upright, pointed ears.
3. Add the Spot Pattern
If using paint, dab black dots randomly across the ear surface, allowing them to dry completely before handling. Felt circles provide a cleaner look—apply with fabric glue or tack them on with tiny stitches. Aim for 8–12 spots per ear to echo the breed’s natural marking density.
4. Attach the Ears
Position the ears on the headband where the wearer’s hairline begins—typically about two inches from each side of the crown. Secure with strong fabric glue or a few stitches, ensuring the ears stand upright rather than flopping forward.
5. Final Adjustments
Test the headband by wearing it for a few minutes. Reinforce any loose spots, and trim excess material for a clean silhouette. If the wearer plans to move a lot, add small clips or a hidden elastic loop at the back for extra grip.
Practical Tips for Real‑World Use
- Comfort first: line the inside of the headband with a thin strip of cotton or breathable mesh to prevent itching.
- Weather awareness: avoid glue that melts in high heat; silicone‑based adhesives hold up better for outdoor events.
- Quick removal: keep a small safety pin handy to release the band without tugging hair.
- Cleaning: spot‑clean painted ears with a damp cloth; felt ears can be hand‑washed and air‑dried.
Beyond the Party: Creative Applications
While the primary goal is costume fun, these ear headbands serve other purposes. Animal‑assisted therapy programs sometimes use them to create a playful, approachable atmosphere for children. Photographers can add a Dalmatian twist to portrait sessions without the logistics of live dogs. Even pet owners can replicate the look for their puppies during a themed photo shoot, using a scaled‑down version made from soft fleece.
Conclusion
Transforming into a Dalmatian with DIY ear headbands merges affordability, comfort, and personal flair. By following the outlined steps and adapting materials to your own needs, you’ll achieve a striking look that stands up to a full day of festivities while keeping the wearer happy. The next time a spotted silhouette is called for, reach for foam, paint, and a bit of creativity—no store‑bought costume required.
Remplacer Un Ensemble De Frein Arrière Avec Des Excentriques De Réglage
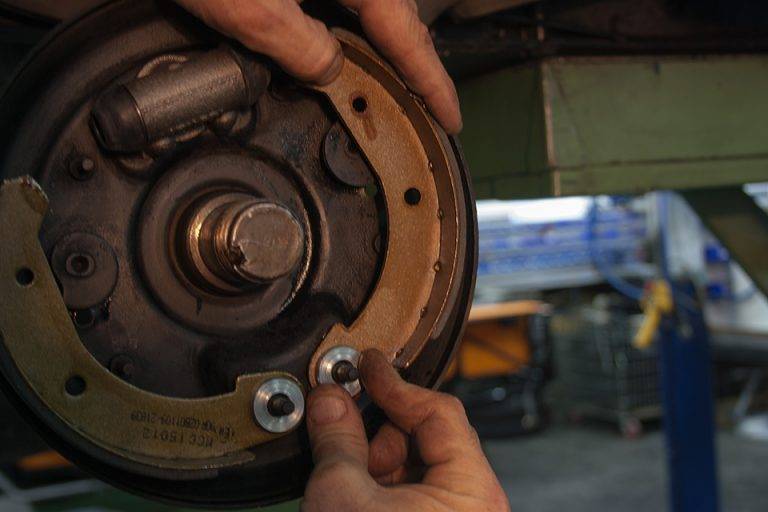
Remplacer un ensemble de frein arrière avec des excentriques de réglage ...
Comment Changer : Mâchoires De Frein Arrière Sur PEUGEOT PARTNER Tepee

Comment changer : mâchoires de frein arrière sur PEUGEOT PARTNER Tepee ...
Comment Changer : Mâchoires De Frein Arrière Sur Toyota Yaris P1

Comment changer : mâchoires de frein arrière sur Toyota Yaris P1 ...
Comment Changer : Mâchoires De Frein Arrière Sur PEUGEOT PARTNER Tepee

Comment changer : mâchoires de frein arrière sur PEUGEOT PARTNER Tepee ...
Comment Changer Facilement Ses Mâchoires Et Récepteur De Freins Arrière
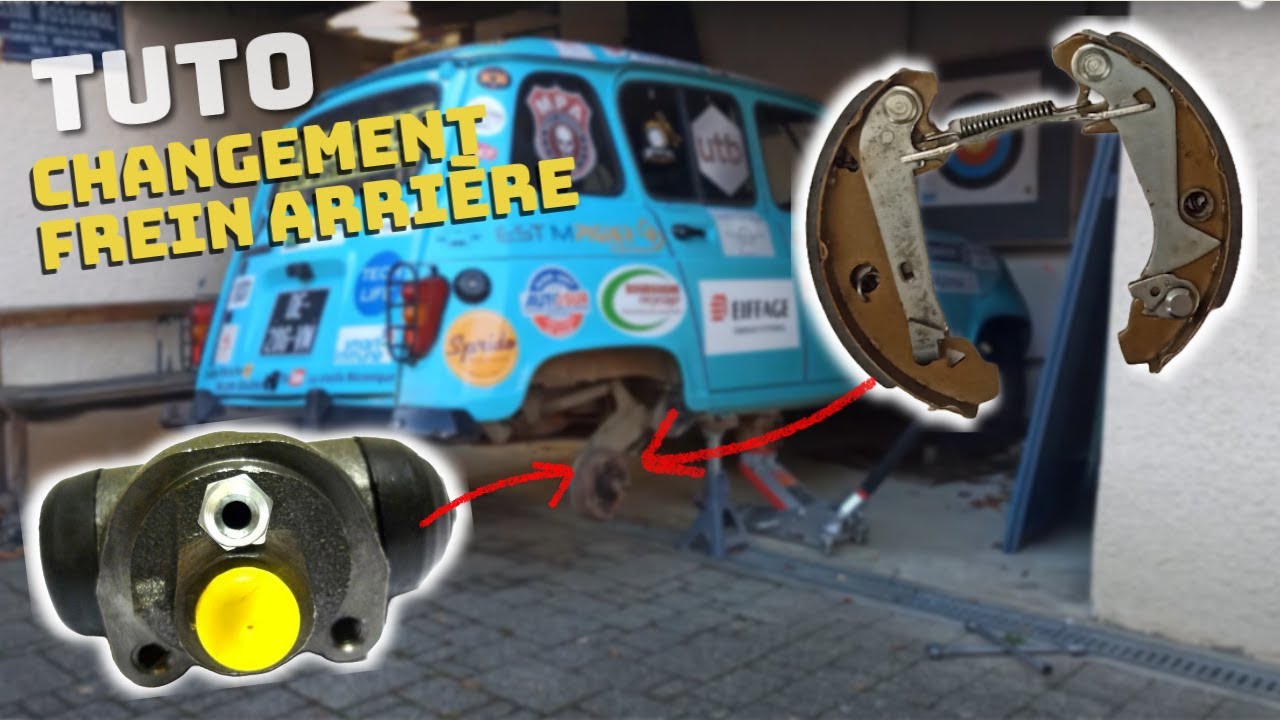
Comment Changer Facilement ses Mâchoires et Récepteur de Freins arrière ...
